Creating Classroom and Virtual Learning Spaces
To do their best learning, participants need to feel comfortable both mentally and physically (see Maslow’s Hierarchy of Needs). The way an instructor organizes and manages participants’ physical (or virtual) learning space will have a major impact on their readiness to learn. If participants struggle to see or hear important information, are too hot or too cold, or are forced to work in cramped conditions, they may become frustrated or fixated on thoughts of relief and disengage themselves from the leaning process. To prevent this from happening, proactively think about participants’ needs, and set up the tables and chairs in the training room in a way that will facilitate learning and accomplish the learning outcomes.
The room layout is important for another reason: participants will make immediate assumptions about the course just from the room layout. For example, if they see a classroom or auditorium-style arrangement, they will assume it will be a lecture-based course. On the other hand, if they see chairs arranged in table groups, they will expect an interactive course with small group discussions or team work..
Sometimes you don’t have any choice about the layout of the room. But when you do, it’s well worth the time and effort to create an arrangement that best matches the interactivity planned in the course.
When choosing a room layout, consider the following factors:
- Room size: The room should accommodate the number of participants comfortably. If the room is large, you can move the tables closer to one another and closer to the front of the room.
- Training requirements: If you expect participants to take notes, work in small groups, or perform role plays, make sure they have the room to do so. Will they work individually, frequently confer with a partner, or have small group discussions? What seating arrangement will support the type(s) of learning?
- Accessibility: Leave at least 36 inches between rows of chairs to create aisles wide enough for participants with mobility issues to maneuver. Check the position of all chairs to ensure that all participants have an unobstructed view of you and the projection screen. Make sure that they do not need to twist around to see the screen and then twist back again to take notes or talk with their tablemates. Make sure that extension cords and cables do not present tripping hazards.
- Lighting: Make sure there is adequate lighting for reading and taking notes. Close window blinds and adjust lighting configurations to minimize glare on the screen. You may need to adjust the lights as the day progresses and conditions change.
- Whiteboards and wall space: Some classrooms and video and web conference platforms have whiteboards that you can use to record key points or valuable information for participants to reference throughout the course. Also, look to see if there is any space you can use to hang chart paper or easel pad sheets for reference. Be sure to leave at least 6 inches of space at the bottom, and hang any visual aid high enough so that people on the other side of the room can read everything that is written on it.
- Climate control: It is impossible to find the perfect temperature for every individual, but you need to be aware of how the room responds to thermostat changes. Is the room cool in the morning but heats up because of afternoon sun? Is there a noisy fan that makes it hard for participants to hear when it turns on? Let participants know about known changes in advance and tell them that the efforts that will be made to accommodate their learning needs.
- Audio: Is a microphone needed for the participants to hear the instructor? Is there one to provide to participants for group report outs or question and answer sessions? Will participants need headphones and microphones to participate in the web conference training or virtual training?
There are many different types of classroom layouts (or seating arrangements). Table 1 displays some of the most common classroom layout options along with the pros and cons of each of them.
| Layout | Description |
|---|---|
|
Partner Groups—Arrange small tables in a row with two seats per desk, facing the hands-on work and note taking. Facilitates partner discussions. Small groups can be formed by pairs turning and talking to the partners behind them. Easy for instructor to observe and listen to participants as they work together. |
|
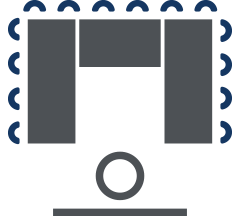
U-shape—Move tables to create a large U-shape. Place chairs on the outside. The open space in the middle provides room for the instructor to walk and pass out handouts or to place a low table for the projection system. This layout allows participants to see both the instructor and all their peers at the same time. Plenty of room for note taking. Easy to break the group into two or three small groups for discussions. Harder to arrange a small group discussion with participants from more than one side of the U. If sides of the U are long, it can be hard for participants at opposite ends to make eye contact. |

|
Conference—Similar to the U-shape, tables are placed to make one long rectangle or square and chairs are placed along three sides. Participants have good visibility of instructor, peers, and visuals. Sometimes there is limited space for demonstrations or role play in front, or to move behind chairs. Like with a U-shape, easy to form groups along one side of the joined tables. More difficult to hold discussions across the joined tables. |
|
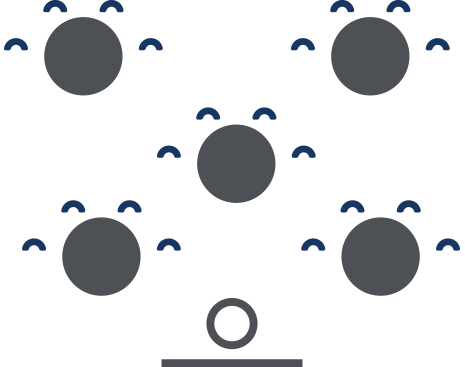
Clusters—Four to six seats are arranged around one half of round tables or tables grouped to form small squares or rectangles. This prevents participants from having their backs to the instructor. This arrangement promotes teamwork and facilitates discussions. Best for courses where the majority of the content will be delivered through small group work. Easy for instructor to walk around and monitor discussions. |
|
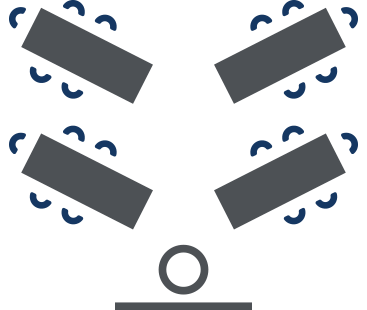
V-shape or herringbone—Tables are arranged in diagonal rows on either side of a classroom. Two to five chairs are placed at each table so that all seats face or are at right angles to the instructor. Good for note taking and partner work or small group work. Easy for instructors to walk around and listen to discussions. Effective for computer training as it allows the instructor to see all participants and move through the aisles. |

|
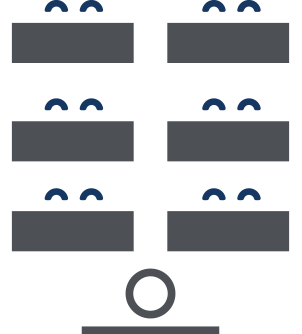
Traditional classroom—Create long rows of tables with chairs on one side facing the instructor. Provides all participants with an unobstructed view of the visuals. Good for lectures and interactive lectures. Although participants can turn and talk to a partner or person behind them, is not conducive for small group discussions. |
Source: NHI (2018).
It is important to note that once participants are settled and comfortable in their groups, they may resist any request for them to change seats or form new groups. You can lessen participants’ discomfort by explaining that the new seating arrangement is temporary and they will be able to return to their original seats.
There are other times when you may want to make a permanent change in participants’ seats (due to personality conflicts, physical accommodations, etc.) and you can re-assign seats for all participants or shift one person from each table at the start of each activity. For virtual instructor-led and web conference deliveries, you can change the composition of participant breakout groups.
The virtual interface created for an online course can play a large role in usability and student success. Most learning platforms and course development apps provide templates that provide design options. No matter which design you choose, the location of reading materials, assignments, tasks, collaborative opportunities, etc., should be consistent and easy to find. You can create a course overview or home page that lists all required readings, tasks and assignments, and their due dates. Some development apps allow you to insert links directly to reading materials, assignments, and rubrics.
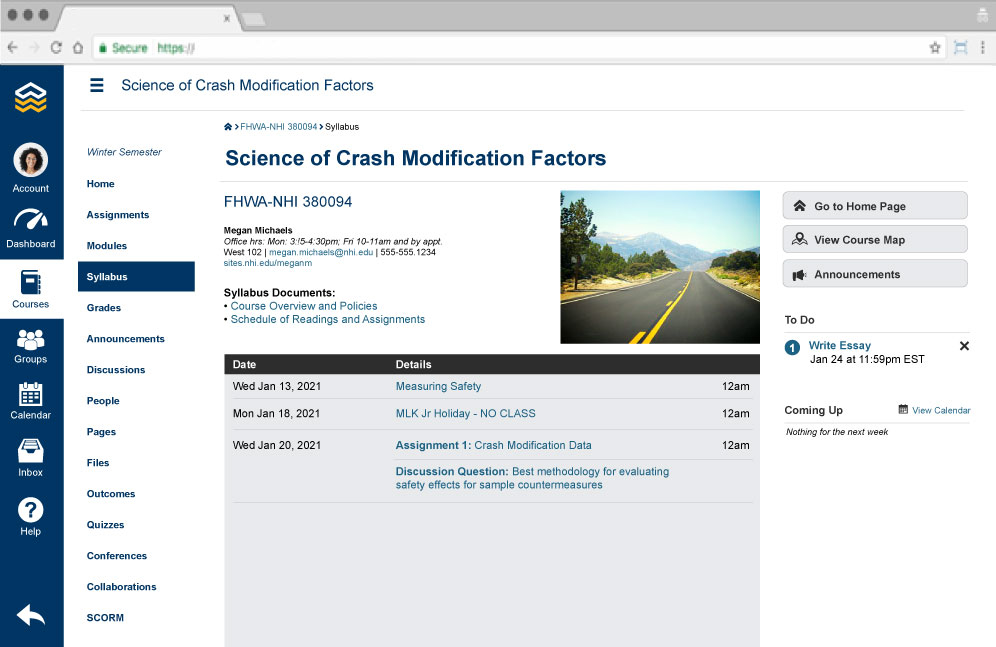
You can keep participants engaged by posting weekly announcements about due dates or highlights of upcoming assignments. Adding instructor photos or videos and asking participants to upload their photos also can help everyone associate a face with a name. Course websites can offer many ways for participants to collaborate, including emails, discussion boards, video conferencing, group phone calls, etc. Participants can also create and post wikis, blogs and podcasts to engage their peers and demonstrate their learning. Figure 4 shows a sample course webpage that provides a thumbnail photo of the instructor, links to assignments, class discussion board, classmate information, course files, collaboration platforms, etc.
Example
Whether you are instructing a single webinar or a series of web or video conferences as part of a blended learning course, you can incorporate many of the engagement activities used in a physical classroom in the virtual meeting space.
Each video or web conference platform has its own combination of features, but some of the common features are as follows:
- Attendees list—A list of all of the attendees for the session. This list allows you and the participants to see who is signed in for the day. You can save the list as proof of attendance.
- Chat messaging—Allows participants and instructors to unobtrusively ask and answer questions. Chats can be either visible to the entire class or private. Often a host or co-instructor is needed to monitor and respond to chat messages. The downside of the chat feature is that it facilitates side conversations that may detract from learning.
- Polling—You can write and post poll questions to probe participants’ past experiences, gather opinions, or test their comprehension. Poll results can be displayed on a bar graph and can be either shared with the class or kept private. You can use poll data to guide review or reteaching. Like with chats, it is useful to have a host or co-instructor post and summarize the poll results.
- Screensharing—Web conference platforms allow instructors (and sometimes participants) to share whatever is on their computer screen or monitor directly with the class, including software demonstrations, videos, PowerPoint presentations, documents, spreadsheets, webpages, etc. You can also upload documents to share during class.
- Voice and audio controls—Not all participants remember to mute their microphones when they join a web conference. Instructors can use the default mute setting to avoid distracting background noises and unintended comments from being heard in the classroom. Instructors and participants can later adjust their personal audio and microphone settings to allow them to hear and be heard by others.
- Video controls—Instructors can choose to include live webcam video feeds as part of their web conference interface. Seeing and hearing the instructor and/or their peers can help keep participants engaged in a virtual class. However, internet limitations and makeshift home offices may make live video broadcasts problematic for some.
- Breakout rooms—Assign participants to small groups and set up virtual breakout rooms for small group activities. It is best to first explain the activity before breaking the class out into groups and then post the instructions to the breakout room chat pod as a reminder. The instructor can pop in and out of breakout rooms to monitor group discussions and answer questions. Some instructors find that not sharing their webcam video when they enter a breakout room results in the least disruption to the group dynamics.
- Meeting recording—Sometimes a participant may request a recording of the class. If the recording will be made available only to the class, you need to notify participants that you will be recording the session and explain why. If the recording will be released to people outside of those in the class, you will need to obtain written (or emailed) permission from all people seen or heard in the recording.
- Reaction icons—Increase the interactivity of a class by encouraging participants to use the reaction options available on the web conference platform. Participants can communicate their sentiments non-verbally by using icons for raise/lower hand, applause, thumbs up/down, yes/no, etc.) Reaction icons can be used with polls or knowledge checks.
Other options that may be available include the following:
- Waiting room—Can be used to screen viewers and allow registered participants to enter the course space all at the same time. Sometimes instructors will post poll or survey questions for participants to answer while they wait.
- Multi-screen sharing—Some web conference platforms allow instructors and/or participants to share content from two monitors or screens at the same time. With multiple screens visible, participants can compare or make connections between any combination of websites, documents, presentations, or videos. The downside to multi-screen sharing is that the two screens are not full-sized, and some text and images may be difficult to see clearly.
- File sharing—Using the Adobe Connect Content library, instructors and participants can upload and download an image, audio, or video file or a PDF, PPT, or HTML file. Multiple files need to be compressed and uploaded in a ZIP file. Other web conference platforms may have different options or limitations.
- Document collaboration—Some web conference platforms allow participants to interact and collaborate on documents. If that feature is not available, you can share links to collaborative documents hosted on other websites.
- Interactive or collaborative whiteboard—Adobe Connect offers whiteboards with both clear and white backgrounds. Instructors can add text, lines, shapes, or other freehand drawings in real time. The white background is like a conventional whiteboard. The clear background allows instructors to create an overlay screen and write or draw on top of an existing document in the Share pod. You can print the contents of a whiteboard. Other web conference platforms also allow participants to collaborate on whiteboards in whole group or breakout sessions.
- Timer—Using a digital countdown timer helps to bring participants back from breaks on time. They also help instructors and participants keep track of the time left for a discussion or activity. There are several timers available, and displaying different ones throughout the day can introduce a little variety.
- Closed captioning—All media presented as part of a course needs to include closed captioning. Captioned materials are sometimes identified with a “CC” or TV icon. If a participant required closed captioning, you could contract with a professional captioning service or assign in-meeting captioners. The captions are transmitted to the Caption Pod in Adobe Connect. Other web conference platforms allow attendees to be designated as captioners, and their typing appears as captions in real-time.
- End-of-meeting feedback—NHI has its own course evaluation form, but if you want to gather more specific feedback or follow up with participants to see how they are applying their new learning on the job, you can send attendees a survey via email.
Research the features and technology tools available in the conference platform. Plan interactions in advance, such as discussion questions, poll questions and response options, assigning participants to small groups, etc., and set them up in the meeting space before the course begins. Sometimes it is easier to manage a web or video conference if a host or facilitator posts poll questions, reviews and answers participant questions, sets timers, troubleshoots technical issues, etc., while you focus on presenting the training.
Instructions
To run an effective web or video training conference:
- Plan how you will incorporate the available technologies into the conference, such as video clips, poll or survey questions, question and answer chats, small group breakouts, collaborative documents or whiteboards, etc.
- Create a one-page, timed agenda.
- Gather all presentation and content materials and make sure they will appear and function as intended.
- If it is a web conference, create a slide that will appear when participants log in so that they know they're at the right meeting site.
- Plan to post a chat question for participants to answer while they are waiting for the conference to begin that will give you an idea of their prior knowledge.
- In the email invitation to participants include the link and access code, attach any advance materials, and provide instructions on how they should prepare for the conference. Including a link to an online pre-course survey to gather feedback on participants’ background and expectations for the course is also helpful.
- Prepare another survey to gather feedback from participants after the conference.
- Practice! Run through the presentation using the moderator tools until to practice posting questions, share your screen, switch to a different breakout room, or review poll results. If there is a facilitator, practice with that person so transitions are smooth.
- Based on practice runs, make changes to the agenda, interactions, and/or materials.
- Conduct a dry run. Unlike a practice run, you will teach the entire course just like you would during actual training.
- Open the conferencing software at least 30 minutes before the meeting is scheduled to start. Be sure all the links and content are working properly.
- Send an email to participants, thanking them and asking them to complete the post-course survey. Use the survey results to improve future web or video conferences.
Go to Surveys/Interactive Polls and Word Clouds/Interactive Polls for ideas on ways to use interactive polls during a web conference course.
Go to Group Discussions for more information on using small group discussions in a web conference course.
