Assessing Learning — The Final Step
The final step in the training process is the assessment or evaluation of participant learning. Assessments measure and document participants’ acquisition of skills and knowledge. To measure the effectiveness of the training, some courses supply a pre-course assessment. The pre-test results create a baseline. Any improvements participants show on their post-course assessment scores are a direct result of the training they received.
Assessments should not be an afterthought in course design and delivery. To accurately measure training effectiveness, assessments need to be aligned with the course learning outcomes. Once the learning outcomes are identified, it is good practice to outline the assessment technique most appropriate to measure their mastery. Then, design instructional and practice activities so participants can successfully complete the assessments. See Using the Outcome Verb to Make Instructional Decisions.
The traditional multiple-choice final exam is the most used assessment tool. However, there are several other options that might be better suited to measure the skills, tasks, and behaviors expected in the learning outcomes:
Example
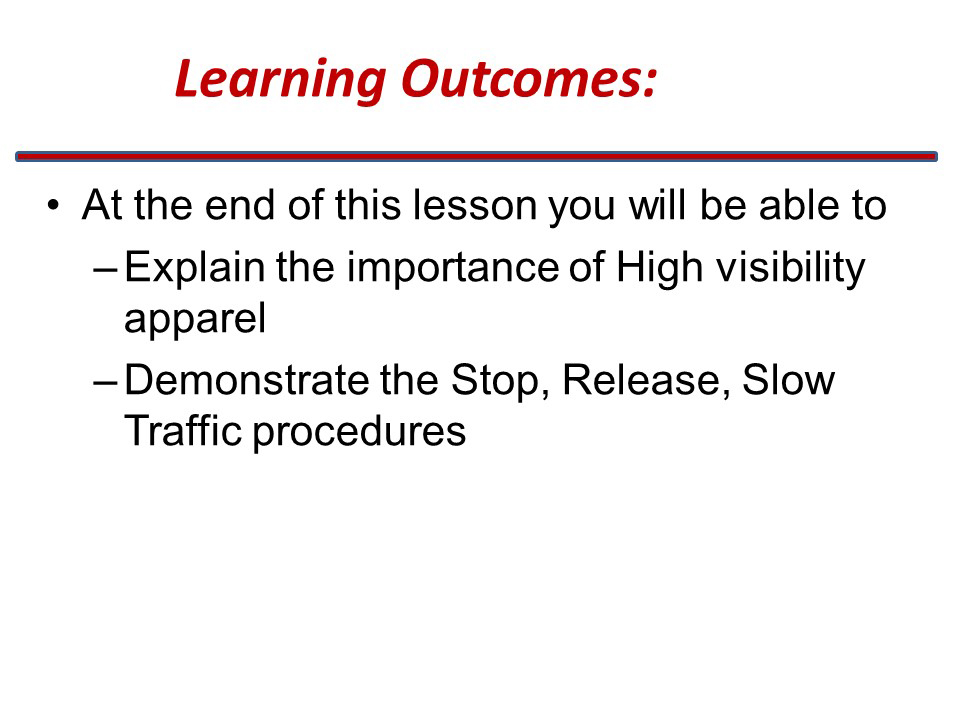
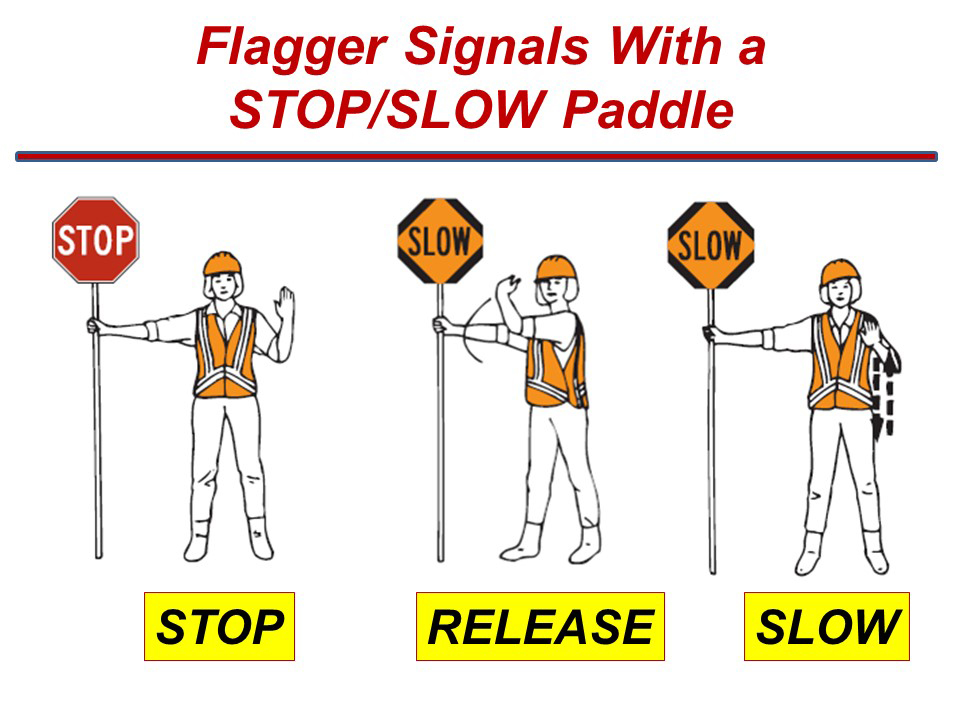
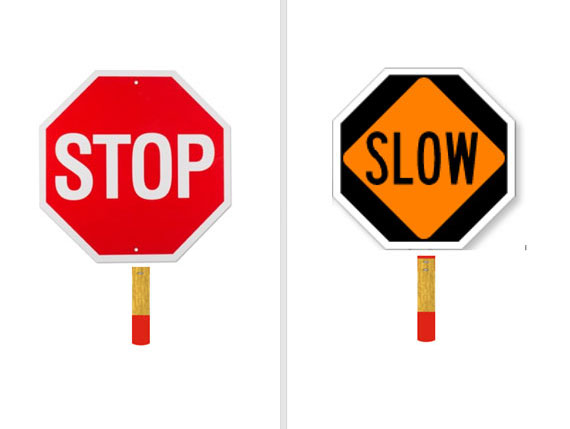
A multiple-choice test would not be the best way to measure achievement of the learning outcomes for the Arizona Department of Transportation “Flagger Certification Training Course.” A performance assessment is a better option. An assessment checklist or rubric can be used to document participants’ motions during the assessment activity. During his NHI “Instructor Development Course” training presentation, Edgard Baltodano provided props (paper copies of the Slow/Stop paddle) so participants could demonstrate the motions while he observed the sequence and clarity of the gestures.
Figure 8 shows slides from his training presentation and the mockup paddle props he provided. Figure 9 displays an example assessment checklist for the activity.
Source: Baltodano (2019).
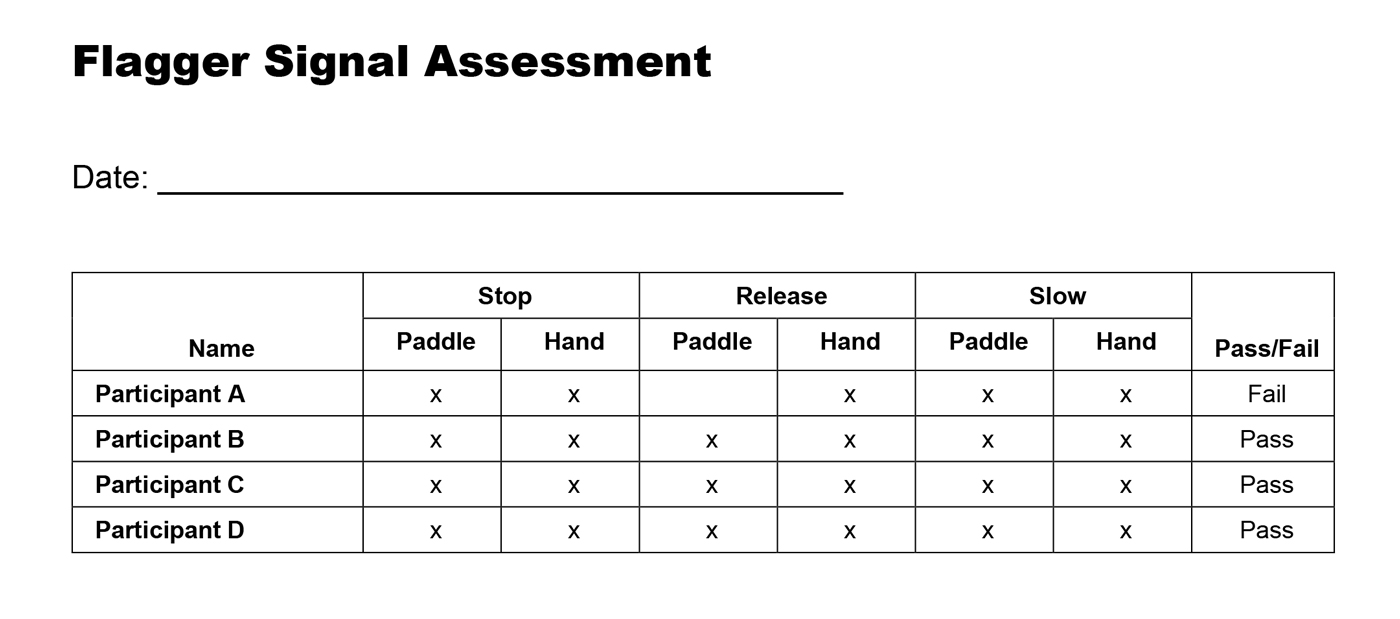
Source: Baltodano (2019).